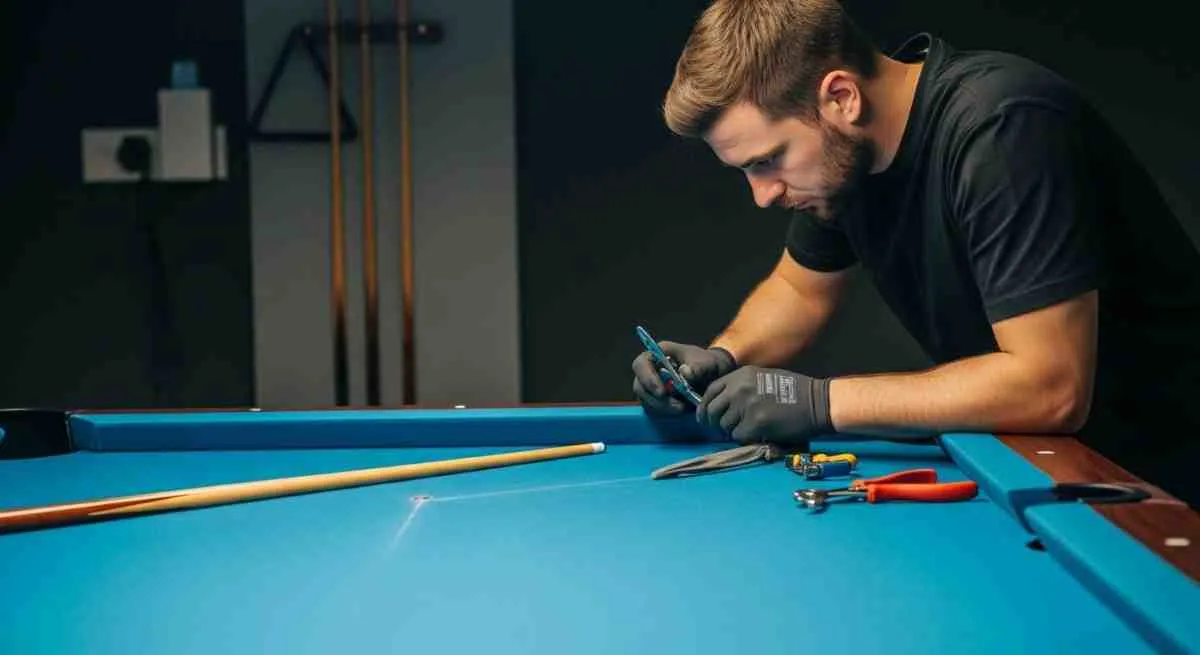
Cost to Refelt Pool Table: Expert Guide to Prices, DIY Tips & Maintenance
Your pool table has been the centerpiece of countless game nights, friendly competitions, and family gatherings. But lately, you’ve noticed the playing surface isn’t quite what it used to be. The cloth has worn thin in spots, balls don’t roll as smoothly, and that once-pristine felt now shows stains, tears, or pilling. It’s time to consider refelting—but what will it cost, and is it something you can tackle yourself?
Whether you own a vintage Brunswick, a tournament-grade Diamond table, or a basement bargain find, understanding the cost to refelt pool table surfaces is essential for maintaining optimal playing conditions. This comprehensive guide breaks down everything you need to know about pool table refelting costs, the difference between DIY and professional services, factors that influence pricing, and how to keep your newly refelted table in championship condition for years to come.
Understanding Pool Table Refelting
Before diving into costs, let’s clarify what refelting actually involves and why it matters for your playing experience.
What Is Pool Table Refelting?
Refelting (also called re-clothing or recovering) is the process of removing old, worn cloth from your pool table’s playing surface and rails, then installing fresh, new cloth. This isn’t simply laying fabric over the existing surface—it requires carefully removing the old material, preparing the slate bed, precisely stretching and stapling or gluing new cloth, and ensuring a perfectly smooth, level playing surface.
The term “felt” is actually a misnomer. Pool tables don’t use actual felt (which is matted, non-woven fabric). Instead, they use worsted wool cloth or wool-nylon blends specifically designed for billiards. However, the term “felt” has become so common in the industry that it’s used interchangeably with “cloth.”
Why Refelting Is Essential
Quality cloth directly impacts every aspect of gameplay:
Ball Roll Consistency: Fresh cloth ensures smooth, predictable ball movement. Worn cloth creates friction variations that affect accuracy and speed control.
Professional Playing Standards: Tournament and serious play require optimal cloth conditions. Even recreational players notice significant differences between worn and new cloth.
Table Protection: The cloth protects the slate bed underneath. Worn cloth exposes slate to potential damage from impacts, spills, and debris.
Aesthetic Appeal: A freshly refelted table looks impressive and maintains your room’s appearance. Stained, worn cloth detracts from the entire space.
Resale Value: Well-maintained tables with quality cloth command higher resale prices. Neglected tables depreciate rapidly.
Signs Your Pool Table Needs Refelting
Watch for these indicators that it’s time to refelt:
- Visible wear patterns, especially in the break area and along rails
- Pills (small fuzzy balls) forming on the surface
- Tears, burns, or stains that affect play
- Uneven ball roll or unexpected directional changes
- Fading or discoloration from sunlight exposure
- Loose or sagging cloth around pockets
- Excessive chalk dust accumulation that won’t brush away
- The cloth is 10+ years old (even without visible damage)
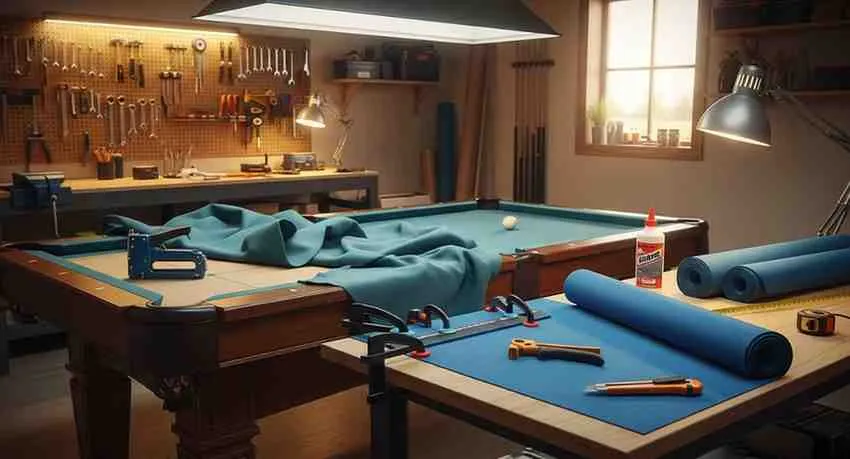
Cost Breakdown: How Much to Refelt a Pool Table
The cost to refelt pool table surfaces varies significantly based on multiple factors. Here’s what you can expect to pay in different scenarios.
Average Professional Refelting Costs
Standard 8-Foot Pool Table: $300-$600 This is the most common residential size. Professional services typically charge $300-400 for basic cloth, or $450-600 for premium tournament-grade cloth.
7-Foot Pool Table: $250-$500 Smaller tables require less material and slightly less labor, resulting in modest savings of $50-100 compared to 8-foot tables.
9-Foot Pool Table: $400-$800 Full-size tournament tables use more cloth and require additional expertise. Expect to pay $400-550 for standard cloth or $600-800 for championship-grade materials.
Coin-Operated Tables: $350-$650 Bar-style tables with ball return mechanisms require additional labor to work around the collection system, sometimes increasing costs by $50-100.
Antique or Custom Tables: $500-$1,200+ Unusual sizes, complex rail configurations, or rare table designs may require custom cloth cutting and specialized knowledge, significantly increasing labor costs.
Regional Price Variations
Location substantially affects pricing:
- Major Metropolitan Areas: $350-800 (higher labor rates)
- Suburban Areas: $300-600 (moderate pricing)
- Rural Locations: $250-500 (lower labor costs, but potentially limited service availability)
- High-Cost Cities (NYC, San Francisco, Boston): Add 20-30% to average rates
DIY Refelting Cost Considerations
If you’re handy and willing to invest time, DIY refelting can save hundreds of dollars:
Essential Materials:
- Pool table cloth (bed and rails): $150-400
- Staples or spray adhesive: $15-30
- Felt markers and chalk: $10-15
- Replacement pocket felts (if needed): $30-60
Recommended Tools (if you don’t own them):
- Staple gun and staples: $25-60
- Utility knife and blades: $15-25
- Straight edge or ruler: $10-20
- Pool table brush: $15-30
Total DIY Cost: $200-400 for materials and tools Potential Savings: $100-400 compared to professional service
However, this doesn’t account for your time investment (6-12 hours for first-timers) or the risk of mistakes that could damage cloth or table components.
Cloth Quality Price Ranges
The type of cloth you choose dramatically impacts total cost:
Economy Cloth ($100-150 for 8-foot table)
- Wool-nylon blends (typically 60-70% wool)
- Shorter lifespan (3-5 years with regular use)
- Less consistent ball roll
- Suitable for casual, recreational play
- Common brands: Championship Tour, Proline
Mid-Range Cloth ($150-250)
- Higher wool content (75-85%)
- Better durability (5-7 years)
- Improved playing characteristics
- Good choice for serious home tables
- Common brands: Championship Invitational, Simonis 760
Premium Tournament Cloth ($250-400+)
- 100% worsted wool
- Professional-grade performance
- Exceptional durability (7-10+ years)
- Used in tournaments and serious play
- Common brands: Simonis 860, Iwan Simonis Championship
Specialty Cloth ($300-600+)
- Custom colors beyond standard green, blue, and red
- Special finishes or treatments
- Speed-optimized for specific games
- Custom printing or logos
DIY vs Professional Refelting
Deciding whether to refelt your pool table yourself or hire professionals requires honest assessment of your skills, available time, and risk tolerance.
Professional Refelting: Pros and Cons
Advantages of Hiring Professionals:
Expertise and Experience: Professional pool table services have refelted hundreds or thousands of tables. They know how to handle complications, work with different table designs, and achieve perfectly smooth, wrinkle-free results.
Proper Tools and Techniques: Professionals use specialized tools—professional-grade staplers, precise measuring instruments, and proper stretching techniques—that ensure optimal results.
Time Efficiency: What takes a novice 8-12 hours, professionals complete in 2-4 hours. They work quickly without sacrificing quality.
Warranty and Guarantees: Reputable services stand behind their work. If issues arise from installation errors, they’ll correct them at no additional charge.
Rail Removal and Reinstallation: Professionals safely remove and reattach rails without damaging wood, leather pockets, or mounting hardware—a common DIY failure point.
Level Check: Many professionals will check and adjust table level as part of the service, ensuring optimal playing conditions.
Minimal Risk: Professional installation eliminates the risk of wasted expensive cloth due to cutting errors, improper stretching, or installation mistakes.
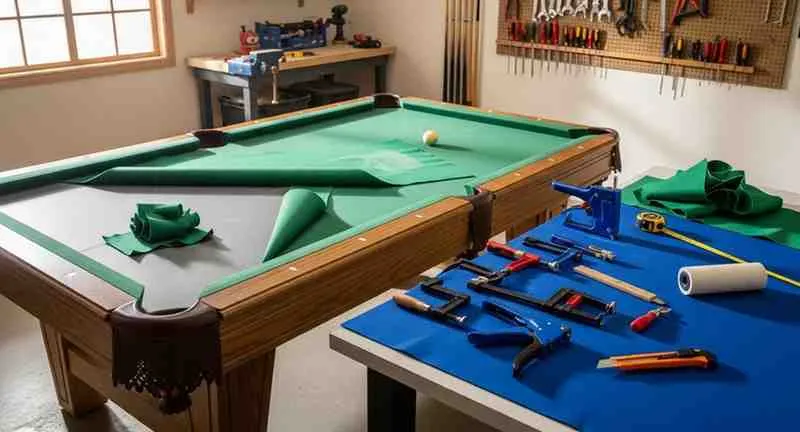
Disadvantages of Professional Services:
- Higher cost ($300-800 vs. $200-400 DIY)
- Scheduling dependent on service availability
- May take 1-2 weeks to book appointment in busy seasons
- Limited control over every detail of the process
- Need to trust service quality (though reviews help here)
DIY Refelting: Pros and Cons
Advantages of DIY Refelting:
Cost Savings: Save $100-400 in labor costs. For budget-conscious owners or those with multiple tables, this adds up significantly.
Learning Experience: Understand your table’s construction intimately. This knowledge helps with future maintenance and troubleshooting.
Scheduling Flexibility: Work on your own timeline without coordinating with service providers. Start and stop as your schedule allows.
Personal Satisfaction: The pride of completing a complex project yourself. Many DIYers find the process rewarding.
Immediate Action: No waiting for appointments. Start as soon as materials arrive.
Customization Control: Make every decision about cloth tension, staple placement, and finishing details exactly as you prefer.
Disadvantages of DIY Refelting:
Steep Learning Curve: First-time refelting is challenging. Expect mistakes and imperfect results initially.
Time Investment: Plan for 8-12 hours minimum, potentially spread across multiple sessions.
Tool Requirements: May need to purchase specialized tools you’ll rarely use again.
Risk of Damage: Mistakes can damage expensive cloth, scratch slate, strip screw holes, or crack rails. These errors may cost more to fix than professional service would have cost initially.
Physical Demands: Moving rails (which are heavy), working in awkward positions, and maintaining tension while stapling requires strength and endurance.
No Warranty: If something goes wrong, you’re responsible for fixing it or hiring a professional to correct your mistakes—potentially costing more than professional service from the start.
Potential for Poor Results: Without experience, achieving perfectly smooth, wrinkle-free cloth with proper tension is difficult. Suboptimal installation affects gameplay quality.
Step-by-Step Guide for DIY Pool Table Refelting
If you’ve decided to tackle refelting yourself, follow this comprehensive process:
Preparation Phase:
- Choose Your Cloth: Research and purchase appropriate cloth for your table size and playing needs. Order 10% extra to account for mistakes.
- Gather Tools: Staple gun, staples (7/16″ or 1/2″), utility knife, straight edge, screwdrivers, socket wrench, pool table brush, spray adhesive (if using glue method), and felt markers.
- Clear the Area: Remove balls, cues, and any items from around the table. You’ll need workspace on all sides.
- Document the Process: Before disassembly, take photos of rail attachment points, pocket positioning, and any unique features. These references prove invaluable during reassembly.
Removal Phase:
- Remove Rails: Unscrew rail bolts from underneath (typically 3-4 bolts per rail). Carefully lift rails away and set them aside. Don’t force anything—if rails seem stuck, check for additional fasteners.
- Remove Pockets: Take out pocket liners, noting their orientation for reinstallation.
- Remove Old Cloth: Starting from one end, carefully pull out staples or cut away glued cloth. Work systematically to avoid damaging the slate bed.
- Clean the Slate: Vacuum thoroughly, then wipe down slate with a damp cloth. Remove all dust, chalk, and debris. Allow to dry completely.
- Inspect for Damage: Check slate for cracks or chips. Examine rails for damage. Address any issues before installing new cloth.
Installation Phase:
- Prepare the Cloth: Unroll new cloth and let it relax for 30-60 minutes. This prevents wrinkles and makes stretching easier.
- Position Bed Cloth: Center the cloth over the slate, ensuring equal overhang on all sides. The nap (directional grain) should run from the break end toward the opposite end.
- Secure the Break End: Pull cloth firmly at the break end and staple along the edge, placing staples 1-2 inches apart. Start in the middle and work outward to distribute tension evenly.
- Stretch and Staple Sides: Move to a long side. Pull cloth taut (firmly but not excessively—you want smooth, not drum-tight). Staple from center outward. Repeat on opposite side, then remaining short end.
- Work Out Wrinkles: If wrinkles appear, remove nearby staples, re-stretch, and re-staple. This is where patience and experience matter most.
- Trim Excess: Use a sharp utility knife and straight edge to trim excess cloth, leaving about 1/4 inch beyond staples.
Rail Re-covering:
- Remove Old Rail Cloth: Strip old cloth from rails, being careful not to damage wood or rubber cushions.
- Cut New Rail Cloth: Measure and cut strips for each rail, adding 2 inches on each end for secure attachment.
- Attach Rail Cloth: Apply spray adhesive to rail face and rubber cushion (if using glue method) or staple underneath. Stretch cloth over rubber, ensuring it’s smooth and tight. Fold corners neatly at pockets.
- Trim and Finish: Cut away excess, ensuring clean lines at pocket openings.
Reassembly:
- Reinstall Rails: Position rails carefully, aligning bolt holes. Tighten bolts evenly, working around the table in stages rather than fully tightening one rail at a time.
- Reinstall Pockets: Place pocket liners in position, ensuring they hang properly.
- Brush and Inspect: Use a pool table brush to remove any loose fibers and debris. Inspect for wrinkles, loose spots, or imperfections.
- Test Play: Shoot some balls across the table from various angles. Check for smooth, consistent roll. Address any issues immediately.
Pro Tips for DIY Success:
- Watch multiple video tutorials before starting to see different techniques and common pitfalls
- Ask an experienced friend to help—extra hands make rail removal and cloth stretching much easier
- Work in good lighting so you can spot wrinkles and alignment issues
- Take breaks—rushing leads to mistakes
- If something seems wrong, stop and troubleshoot rather than pushing forward
- Consider practicing on an old, cheap table before tackling your prized possession
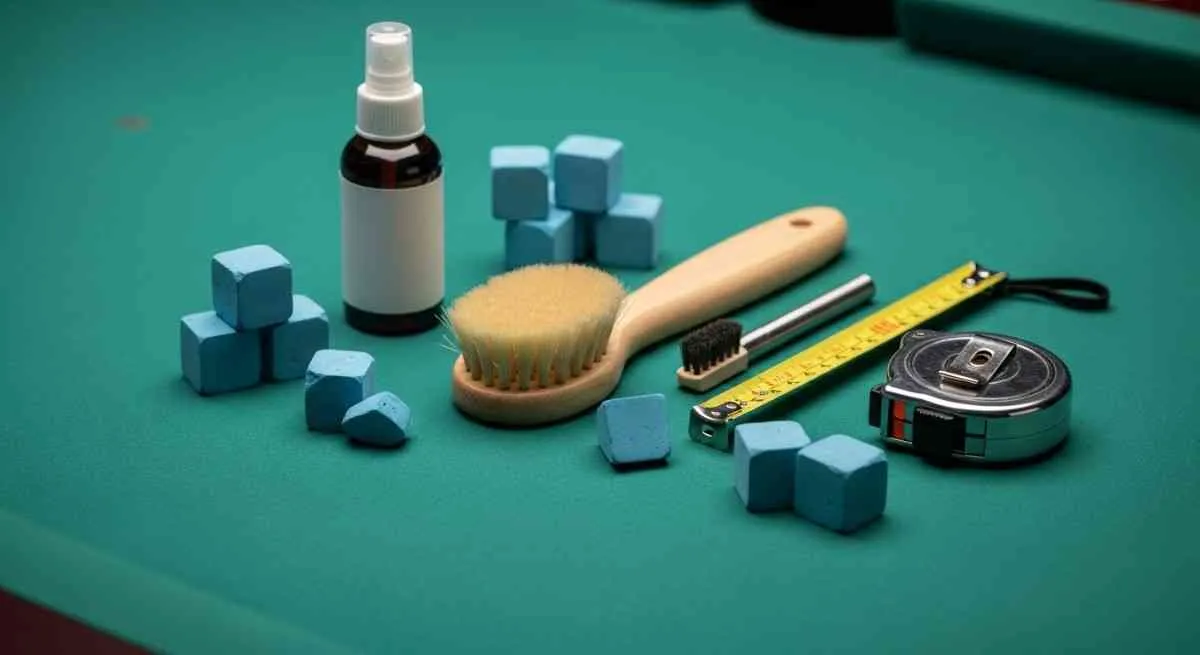
Factors Affecting Pool Table Refelting Cost
Understanding what drives pricing helps you make informed decisions and spot fair vs. inflated quotes.
Table Size and Configuration
Standard Sizes:
- 7-foot tables: Use approximately 8 yards of cloth, requiring less material and labor
- 8-foot tables: Standard home size, typically the baseline for pricing
- 9-foot tables: Tournament size, uses about 10 yards of cloth, increasing material and labor costs
Custom or Unusual Sizes: Tables with non-standard dimensions require custom cloth cutting, potentially increasing costs by 15-30%.
One-Piece vs. Three-Piece Slate: Most quality tables use three-piece slate for easier installation and leveling. One-piece slate tables may cost slightly more to refelt due to additional leveling complexity and the weight involved in any adjustments.
Type and Quality of Felt
As discussed earlier, cloth quality ranges from $100-600+ for materials alone. The type of cloth impacts not just initial cost but long-term value:
Wool-Nylon Blends:
- Lower upfront cost
- Less durable (shorter lifespan)
- May need replacement more frequently
- Better for casual players or tight budgets
Worsted Wool:
- Higher initial investment
- Superior durability and performance
- Lower long-term cost due to extended lifespan
- Preferred for serious players
Labor Charges and Regional Differences
Professional labor typically accounts for 40-60% of total refelting cost:
Factors Affecting Labor Costs:
- Local Market Rates: Higher cost-of-living areas charge premium rates
- Service Scarcity: Fewer professionals in rural areas may charge more despite lower general costs
- Business Overhead: Established companies with insurance, warranties, and reputation may charge more than independent contractors
- Experience Level: Highly skilled technicians with years of experience command higher rates but typically deliver superior results
Typical Labor Breakdown:
- Basic refelting: $150-300
- Rail re-covering included: Add $50-150
- Level check and adjustment: Add $75-150
- Pocket replacement: Add $50-100
- Bumper replacement: Add $150-300
Additional Services and Costs
Bumper Replacement: If rubber cushions have hardened or lost responsiveness (common after 15-20 years), replacement costs $200-400 for materials and labor.
Pocket Replacement: Worn leather pockets cost $60-120 to replace. Plastic pockets run $30-60.
Frame Repair: Damaged wood frames require carpentry work, adding $100-500 depending on extent of damage.
Slate Repair: Cracked or chipped slate needs professional repair, costing $200-600+ depending on damage severity.
Moving or Disassembly: If your table needs relocation before refelting, moving services add $300-800 depending on distance and complexity.
Maintaining Your Pool Table Post-Refelting
Proper maintenance extends the life of your new cloth and protects your investment. Follow these billiard table upkeep practices for optimal performance.
Daily and Weekly Care
Brush After Each Play Session: Use a proper pool table brush (not a household broom or vacuum) to gently brush from the break end toward the opposite end, following the cloth’s nap. This removes chalk dust and prevents it from grinding into fibers.
Cover When Not in Use: A fitted table cover protects against dust, sunlight (which fades cloth), spills, and incidental damage. Quality covers cost $30-100 but extend cloth life significantly.
No Eating or Drinking on the Table: Food crumbs attract pests, spills stain cloth permanently, and oils from food damage fibers. Establish and enforce this rule consistently.
Remove Jewelry: Rings, watches, and belt buckles can snag or tear cloth. Players should remove these items before leaning over the table.
Monthly Maintenance
Deep Cleaning: Once monthly, brush the entire surface thoroughly, including rails and hard-to-reach areas around pockets. Follow the nap direction consistently.
Inspect for Damage: Check for developing tears, loose cloth around pockets, or wear patterns. Address small issues before they become major problems.
Clean Rails and Pockets: Wipe down wooden rails and leather pockets with appropriate cleaners to prevent grime buildup.
Check Level: Place a level across various points on the playing surface. If you notice the table has shifted, address it promptly to prevent uneven cloth wear.
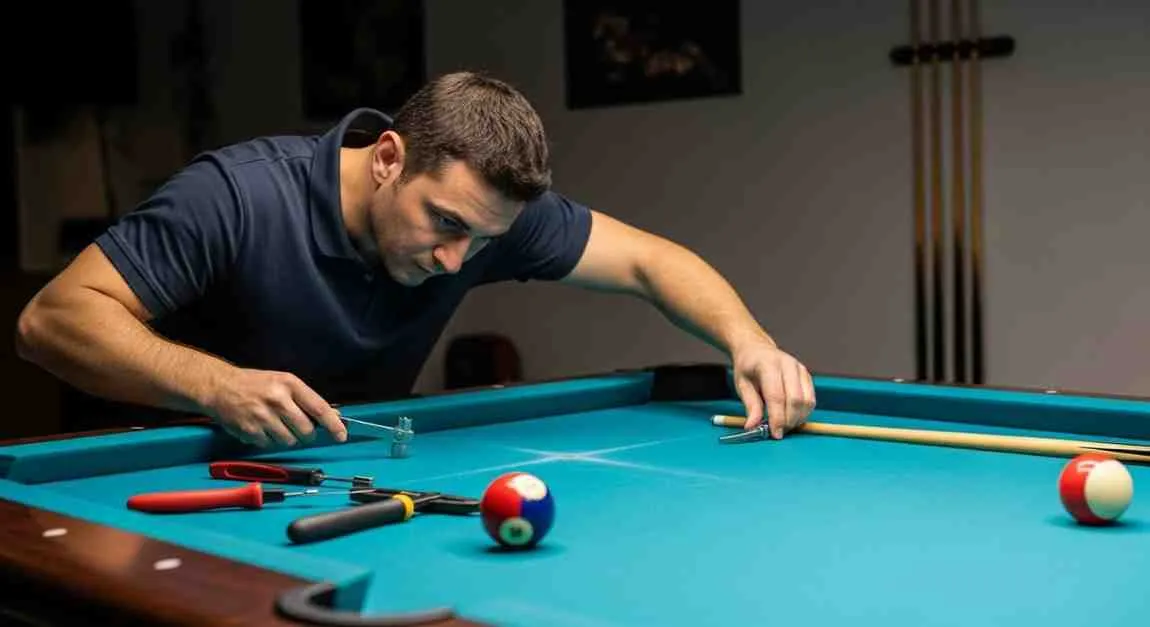
Extending Cloth Lifespan
Rotate Rack Position: If you always break from the same spot, that area wears faster. Occasionally rotate your setup position to distribute wear.
Use Quality Balls: Cheap balls with rough surfaces accelerate cloth wear. Invest in quality balls and clean them regularly with warm water and mild soap.
Proper Cue Chalk: Use quality chalk and teach players to chalk away from the table. Excessive chalk dust ground into cloth shortens its lifespan.
Control Humidity: Maintain 40-60% relative humidity. Too dry causes cloth to become brittle; too humid promotes mold and mildew.
Limit Direct Sunlight: UV rays fade and weaken cloth fibers. Use window treatments to block direct sunlight during peak hours.
Professional Cleaning: Every 2-3 years, consider professional cleaning services that can remove deep-set chalk dust and restore some resilience to the cloth.
What to Avoid
Never Iron Pool Table Cloth: Heat damages the fibers and can leave permanent marks or warping.
Don’t Use Harsh Chemicals: Standard household cleaners may contain chemicals that degrade cloth. Use only products specifically designed for billiard cloth.
Avoid Tape or Adhesives: Never attach anything to the playing surface with tape, which leaves residue and damages fibers when removed.
No Sitting on Rails: The weight can loosen cloth and damage cushion rubber over time.
Don’t Over-Brush: While regular brushing is essential, excessive or aggressive brushing can damage fibers. Gentle, consistent care is better than vigorous scrubbing.
Frequently Asked Questions
How much does it cost to refelt a pool table?
Professional refelting typically costs $250-600 for standard residential tables, with 8-foot tables averaging $300-500. DIY refelting costs $200-400 in materials. Premium tournament cloth, larger tables, and complex configurations can push costs to $800 or more.
How often should a pool table be refelted?
With regular use (playing 2-3 times weekly), expect to refelt every 5-7 years for quality cloth, or 3-5 years for economy cloth. Tournament tables with heavy use may need refelting every 1-3 years. Tables in pristine condition with minimal use can last 10+ years before needing new cloth.
Can I refelt my pool table myself?
Yes, refelting is a feasible DIY project for handy individuals willing to invest 8-12 hours and carefully follow instructions. However, first-timers should expect imperfect results and potential for costly mistakes. If your table has significant monetary or sentimental value, professional service often proves more economical when factoring in risk.
What type of felt is best for refelting?
For serious players, worsted wool cloth (like Simonis 860) offers the best combination of durability, consistent play, and ball speed control. For recreational players, mid-range cloth (Championship Invitational) provides good value and performance. Choose based on your playing frequency, skill level, and budget rather than defaulting to the cheapest option.
Is professional refelting of billiard tables worth it?
For most owners, professional refelting is worth the additional $100-300 cost compared to DIY. Professionals deliver superior results, work efficiently, and eliminate the risk of expensive mistakes. DIY makes sense primarily for experienced individuals, those on very tight budgets, or people who genuinely enjoy hands-on projects and accept learning curve challenges.
How long does professional refelting take?
Most professionals complete refelting in 2-4 hours once they arrive. However, scheduling the appointment may take 1-3 weeks depending on service availability and season. Ask about turnaround time when requesting quotes.
Does refelting include rails?
This varies by service provider. Always clarify whether quoted prices include rail re-covering or only the playing bed. Full-table refelting (bed and rails) typically costs $100-200 more than bed-only service but is almost always recommended for optimal appearance and performance.
Can I choose custom cloth colors?
Yes, most cloth manufacturers offer numerous color options beyond traditional green. Popular alternatives include blue, burgundy, camel, and gray. Custom colors may cost $50-150 more than standard green and sometimes have longer lead times for delivery.
Will refelting fix a warped table?
No, refelting addresses cloth only, not structural issues. Warping results from humidity damage, poor construction, or foundation settling. These problems require different repairs—slate releveling, frame reinforcement, or foundation adjustment—before refelting.
Real-Life Examples and Case Studies
Understanding how others approached refelting helps inform your decision. Here are several real scenarios with outcomes and lessons learned.
Case Study 1: The DIY Success Story
Scenario: Mark owned a 20-year-old 8-foot Valley table in his garage. The original cloth was worn and stained, but the table’s structure remained solid. As a retired carpenter with woodworking experience, Mark decided to refelt it himself.
Approach:
- Researched extensively, watching multiple YouTube tutorials
- Purchased Championship Invitational cloth ($195)
- Already owned most tools but bought a new staple gun ($35)
- Invited a friend to help with rail removal and cloth stretching
- Worked over two Saturdays (approximately 10 hours total)
Results:
- Total cost: $230
- Professional quote was $450, so savings: $220
- Cloth turned out smooth with minor imperfections in two corners
- “For my skill level and the table’s purpose (casual weekend play), I’m thrilled with the results. The corners aren’t perfect, but they don’t affect play. Saved money and learned a lot about my table.”
Key Takeaway: DIY works well for handy individuals with realistic expectations and non-critical applications.
Case Study 2: The Professional Investment
Scenario: Jennifer inherited her grandfather’s 1960s Brunswick Gold Crown. This collectible table had sentimental value and needed complete restoration, including refelting.
Approach:
- Contacted three professional services specializing in antique tables
- Chose a service with Brunswick expertise and excellent reviews
- Opted for Simonis 860 tournament cloth in traditional green
- Service included rail re-covering, bumper replacement, and leveling
- Total cost: $1,150
Results:
- Table looks and plays like new
- Professional technician noted and repaired a cracked slate during service (included in quoted price)
- Five-year warranty on workmanship provided peace of mind
- “Worth every penny. This table meant everything to my grandfather, and now it’ll be around for my grandchildren. The playing quality is incredible.”
Key Takeaway: Professional service justifies premium pricing for valuable, sentimental, or high-end tables where perfection matters.
Case Study 3: The DIY Disaster
Scenario: Tom found an 8-foot table on Craigslist for $200. Wanting to save money, he attempted refelting with minimal research and no assistance.
Approach:
- Purchased economy cloth online ($120)
- Watched one YouTube video
- Attempted refelting alone over one afternoon
- Used household staple gun with insufficient power
Results:
- Cloth had multiple wrinkles and loose areas
- Rails misaligned during reinstallation
- Tore cloth while trimming at pockets
- Eventually called professional to correct mistakes
- Professional charged $550 (more than standard rate) to fix errors and install new cloth
- Total spent: $670 ($120 wasted cloth + $550 professional correction)
Lessons:
- “I thought I’d save money but ended up spending more than professional service from the start would have cost. Should have hired a pro or done much more research.”
Key Takeaway: Rushing DIY projects without adequate preparation and help often costs more than professional service, especially when mistakes damage materials or require correction.
Case Study 4: The Strategic Upgrade
Scenario: David’s basement 7-foot table needed refelting. Recognizing his limitations but wanting to minimize costs, he took a hybrid approach.
Approach:
- Purchased Simonis 760 cloth himself during a sale ($165, saving $75 off retail)
- Hired professional service for installation only, providing his own cloth
- Negotiated reduced labor rate ($175 instead of standard $250) since he supplied materials
- Service included bed and rail refelting
Results:
- Total cost: $340
- Standard package would have been $475
- Savings: $135
- Professional quality installation with premium cloth
- “Best of both worlds—I saved money by shopping smart but got professional installation quality.”
Key Takeaway: Consider hybrid approaches that leverage your strengths while leaving technical work to professionals.
Conclusion: Making the Right Refelting Decision
The cost to refelt pool table surfaces represents a significant but necessary investment in maintaining optimal playing conditions and protecting your table’s value. Whether you spend $200 on a DIY project or $800 on professional service with premium cloth, proper refelting dramatically improves gameplay, extends your table’s lifespan, and restores its aesthetic appeal.
For most pool table owners, professional refelting offers the best balance of quality, efficiency, and peace of mind. The additional cost compared to DIY proves worthwhile when you consider the expertise, proper tools, warranties, and risk elimination that professionals provide. However, for budget-conscious owners with handy skills and realistic expectations, DIY refelting can deliver satisfactory results with patience and careful execution.
Regardless of which approach you choose, invest in quality cloth appropriate for your playing needs and commit to proper maintenance afterward. Regular brushing, protective covers, and mindful use extend the life of your new cloth significantly, maximizing your investment whether you spent $200 or $800 on the refelting process.
Remember that pool table care represents an ongoing commitment. Refelting is just one component of billiard table restoration and maintenance. By understanding costs, making informed decisions, and maintaining your table properly, you ensure countless hours of enjoyable play for years to come.
Ready to refelt your pool table? Share your plans, challenges, or questions in the comments below. Have you refelted a table yourself, or do you have professional service recommendations? Your experiences help others make better decisions. Don’t forget to share this guide with fellow pool enthusiasts who could benefit from understanding refelting costs and maintenance strategies. For more guidance on home game room upgrades and maintaining your recreational equipment, explore our related articles on creating the perfect entertainment space.


